10 Maintenance Tasks Every DTF Printer Owner Should Do
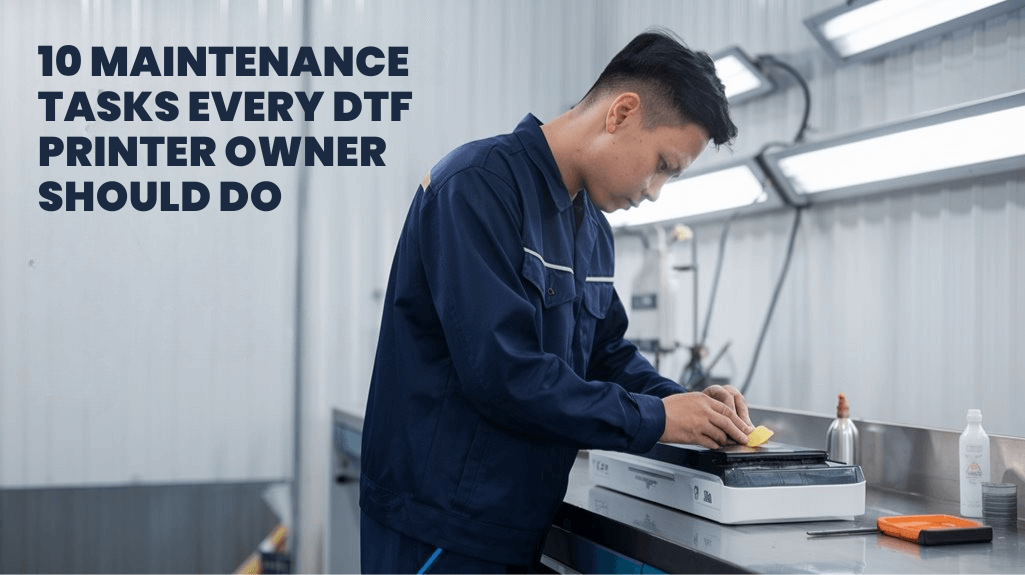
You’ll want to perform these 10 essential maintenance tasks to keep your DTF printer running smoothly: clean print heads daily with DTF solution, maintain capping stations and wiper blades regularly, inspect ink pads and lines weekly, clean rollers and belts monthly, clear fans and vents monthly, update software and firmware regularly, calibrate and test print quality, utilize manufacturer support, check ink system components, and maintain proper cleaning logs. These basic tasks typically take between 5-60 minutes each and will help prevent costly repairs while ensuring consistent, high-quality prints. Let’s examine each task in detail to maximize your printer’s performance.
Key Takeaways
- Clean print heads daily with DTF-specific cleaning solution and perform nozzle checks before starting print jobs.
- Inspect and clean the capping station and wiper blades weekly to prevent ink buildup and ensure optimal printing.
- Check ink lines for air bubbles and clogs weekly, maintaining proper ink flow throughout the system.
- Clean rollers, belts, fans, and vents monthly using compressed air and microfiber cloths to prevent dust accumulation.
- Run regular alignment tests and monitor print quality through test patterns to maintain precise printing results.
Daily Print Head Cleaning (Estimated Time: 5-10 minutes)

Three essential steps make up the daily print head cleaning routine for your DTF printer. Let’s examine each one to keep your printer running smoothly.
You’ll start with a gentle cleaning solution soak. Turn off your printer and remove the ink cartridges. Using a lint-free cloth dampened with DTF-specific cleaning solution, carefully wipe the print head surface. Having proper safety gear ready before starting any cleaning procedure is crucial for protecting yourself from chemical exposure.
Moving on to the manual cleaning phase, you’ll need to use a syringe filled with cleaning solution. Gently inject it through the print head nozzle following your printer’s specific instructions. Using water-based inks can help reduce clogging and maintenance needs over time.
For stubborn clogs, you might wonder about alternative methods. You can use 90% or higher isopropyl alcohol, but apply it sparingly to avoid damage.
Have you ever noticed how a clean print head performs like a well-tuned engine? That’s why you’ll want to inspect for blockages before each printing session.
Remember to maintain gentle pressure during cleaning. Your print head is sensitive – treat it like a delicate instrument rather than a tough machine.
You’ll find this 5-10 minute investment in daily DTF printer cleaning pays off with consistent, high-quality prints.
Regular Capping Station and Wiper Blade Cleaning (Estimated Time: 5 minutes)
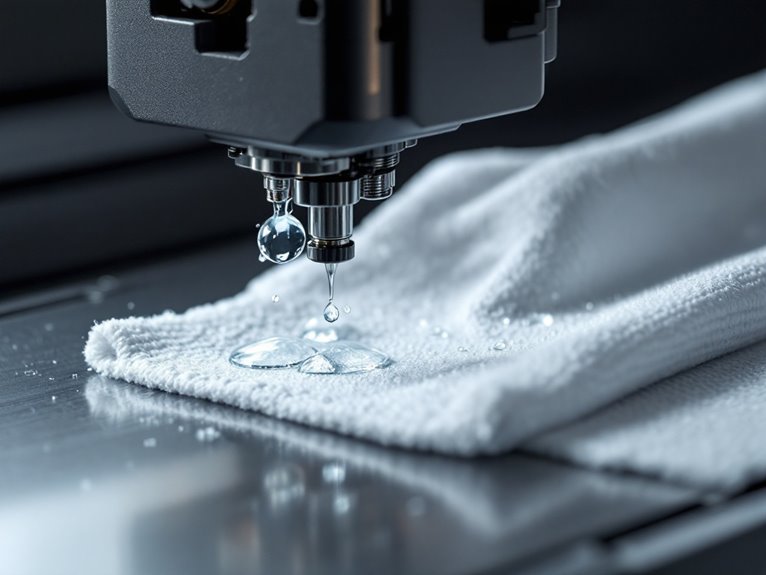
While daily print head cleaning keeps your DTF printer running smoothly, maintaining the capping station and wiper blade is equally essential for peak performance. Let’s investigate how to keep these vital components in top shape.
You’ll want to start by powering off your printer and moving the print head to the left. This gives you clear access to the cap tops and wiper blades. Polyester knit wipes are recommended for optimal cleaning effectiveness.
Using a lint-free cloth dampened with DTF-specific cleaning solution, gently wipe the capping station’s edges to remove ink buildup. Never use alcohol-based cleaners, as they can damage the components.
Next, clean the wiper blade with the same dampened cloth. If you notice any twisting, carefully pull the blade outward to straighten it.
Pay special attention to the ink guide tank within the capping station. A thorough cleaning here prevents future printing issues.
Remember to let everything air dry completely before closing your printer cover. Make this 5-minute maintenance routine part of your daily DTF printer maintenance schedule.
For best results, inspect these components daily and replace any worn parts promptly. Your printer will thank you with consistent, high-quality outputs.
Weekly Ink Pad and Ink Line Inspection (Estimated Time: 10-15 minutes)
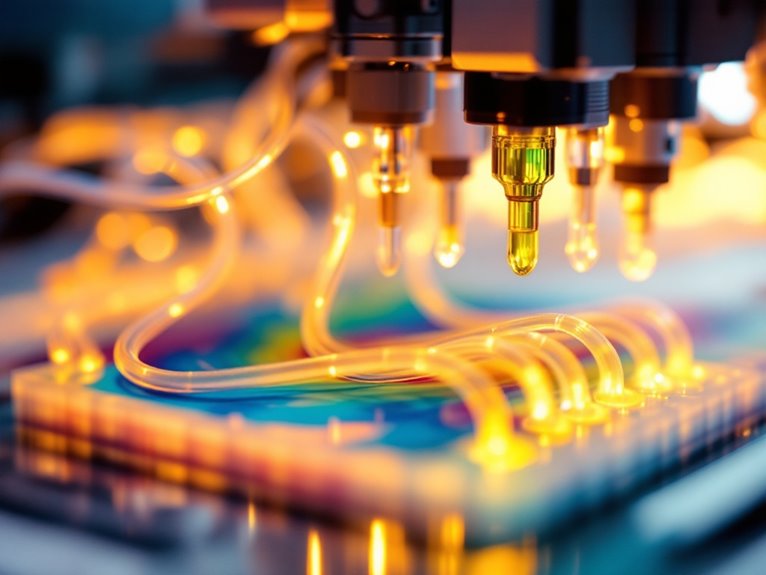
Maintaining your DTF printer’s ink system requires weekly inspection of two essential components: the ink pad and ink lines. These vital elements on your dtf printer maintenance checklist guarantee peak performance and prevent costly repairs.
Your ink pad works hard to absorb excess ink during printing and cleaning cycles. You’ll want to check it every few days for signs of saturation or overflow. When you notice any leakage or smudging, it’s time for a replacement. Ink pad saturation typically requires replacement every 3 months to maintain system integrity.
Here are three key areas to focus on during your weekly inspection:
- Check ink lines for air bubbles or clogs – use a soft brush to clean if needed
- Inspect ink pad saturation levels – look for signs of overflow or leakage
- Test ink flow consistency – run a test print to verify smooth operation
Make certain you’re documenting each inspection in your maintenance log. This helps you track patterns and anticipate when replacements might be needed.
Remember to keep your workspace clean while performing these checks. A contamination-free environment is vital for maintaining your DTF printer’s longevity and print quality.
Monthly Roller and Belt Cleaning (Estimated Time: 10-15 minutes)
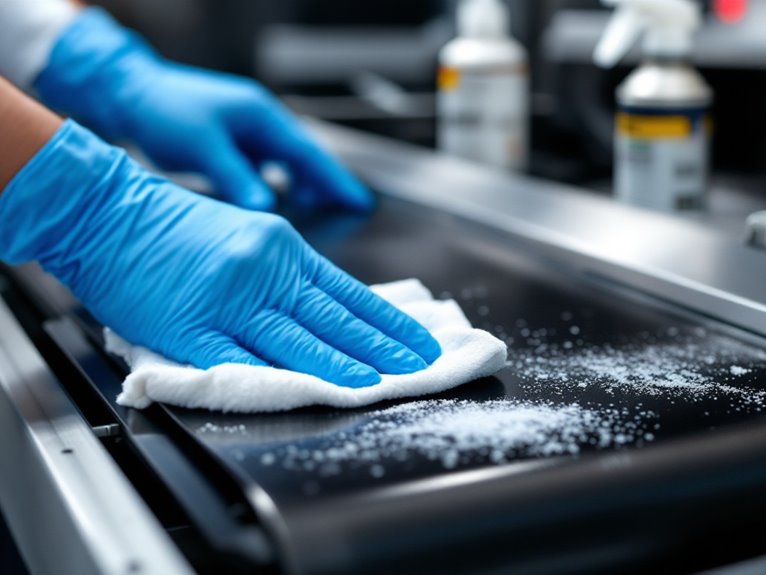
Regular roller and belt cleaning represents one of the most essential monthly maintenance tasks for your DTF printer. While daily maintenance keeps things running, this deeper monthly cleaning prevents long-term issues.
Let’s examine the proper cleaning process. First, power down and unplug your printer completely. Safety always comes first.
You’ll want to grab your cleaning toolkit: soft cloths, gentle cleaners, and compressed air. Think of it as giving your printer a spa day.
Start by using compressed air to blast away dust from those hard-to-reach spots. Then wipe down the rollers with a soft cloth dampened with the appropriate cleaner.
Moving on to the belts, inspect them carefully for signs of wear. Apply the manufacturer-recommended lubricant to keep them running smoothly.
Don’t forget those tiny spaces. Use cotton swabs with isopropyl alcohol to clean smaller components.
Finally, give everything a once-over with a dry microfiber cloth. This removes any remaining moisture or debris.
Remember to maintain a cleaning log. Consistent monthly maintenance will significantly extend your DTF printer’s lifespan and keep print quality exceptional.
Monthly Fan and Vent Cleaning (Estimated Time: 5-10 minutes)

Clean fans and vents protect your DTF printer‘s essential components from overheating and dust accumulation. Proper dtf printer care includes regular maintenance of these vital cooling systems to prevent unexpected breakdowns and extend your machine’s lifespan.
You’ll need some basic supplies to get started: compressed air, soft brushes, and microfiber cloths. Don’t forget to wear safety goggles to protect your eyes from flying debris during cleaning.
Let’s break down the essential cleaning steps:
- Power down your printer completely and unplug it from the electrical outlet before starting any cleaning work
- Use short bursts of compressed air to blow out loose dust from vents and fan assemblies, holding the can upright
- Gently wipe fan blades with a microfiber cloth, being careful not to bend or damage them
Moving on to maintenance frequency, you’ll want to clean these components monthly. Set a reminder on your calendar to make this task a regular part of your dtf printer care routine. Think of it like changing your car’s air filter – it’s a small investment of time that prevents bigger problems down the road.
Quarterly Internal Component Cleaning (Estimated Time: 30-45 minutes)
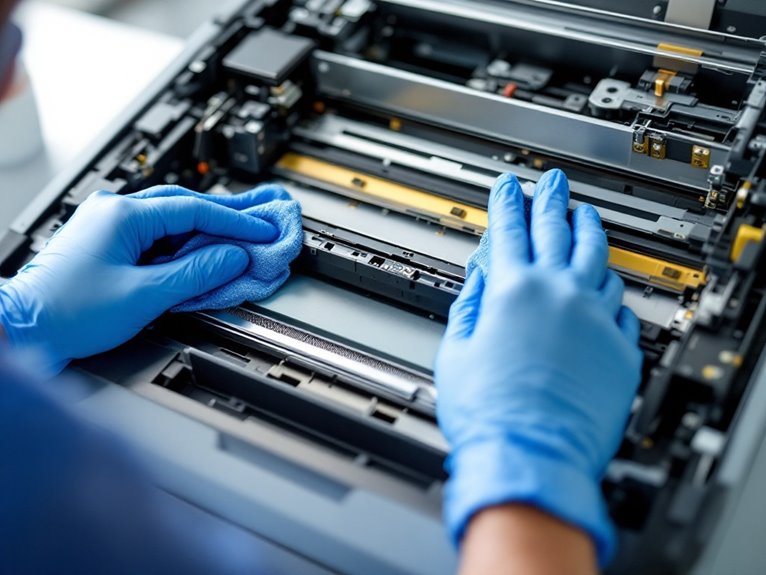
While monthly fan cleaning helps prevent external dust buildup, a deeper quarterly cleaning of your DTF printer’s internal components will keep it running smoothly for years to come. This essential maintenance task requires about 30-45 minutes of focused attention.
Before you begin, power off and unplug your printer. Gather your manufacturer-approved dtf printer cleaning solution and lint-free cloths.
You’ll want to focus on five key areas: the carriage, rails, ink pads, ink lines, and encoder strip. Think of it as giving your printer a spa day – it needs that thorough pampering to perform its best.
Let’s start with the carriage and rails. Gently clean these components to guarantee smooth operation and prevent mechanical hiccups down the road.
Moving on to the ink system, check those ink pads and lines for any buildup. A clean ink system means fewer clogs and better print quality.
Don’t forget the encoder strip – it’s like your printer’s nervous system. Keep it clean and dust-free for precise printing performance.
Remember to log your cleaning activities. This helps you track your printer’s health and spot potential issues early.
Regular Ink Cartridge and Consumable Replacement (Estimated Time: 5-10 minutes per cartridge)

Two vital aspects of DTF printer maintenance are ink cartridge and consumable replacement, taking just 5-10 minutes per cartridge when done properly. You’ll want to establish a regular ink cartridge replacement schedule based on your printing volume.
For moderate use, replace cartridges every other week. If you’re printing less frequently, you’ll need to replace them daily or every other day to prevent settling.
Here are the essential steps for proper cartridge replacement:
- Run a nozzle test to check print quality and identify any clogging issues
- Clean the ink pipe thoroughly with pure water before installing new cartridges
- Verify all connections are tight to prevent air from entering the system
Don’t forget about your consumables. Replace ink pads every 3 months to prevent overflow. Your white ink filter needs changing quarterly too – it’s vital for trapping impurities that could damage your printhead.
Keep a close eye on your cleaning wipers. When they show signs of wear, replace them immediately. This helps maintain peak print quality and prevents those frustrating clogs that can slow down your production.
Software Updates and Firmware Upgrades (Estimated Time: 30-60 minutes)

Keeping your DTF printer’s software and firmware up-to-date is crucial for peak performance and security. You’ll want to make these updates a regular part of your maintenance routine.
Let’s examine why DTF printer software updates matter. They fix bugs, bolster security, and often introduce new features that can enhance your printing workflow.
Start by visiting your manufacturer’s website monthly to check for new firmware versions. You’ll want to back up your current settings before proceeding with any updates.
Make certain you’re downloading the correct version for your specific printer model. Installing incompatible firmware can cause serious issues.
The update process typically takes 30-60 minutes. Don’t interrupt it once started – a failed update could damage your printer.
After updating, restart your printer and run a test print to verify everything’s working correctly. If you encounter any issues, contact manufacturer support immediately.
Consider setting calendar reminders for regular update checks. Your DTF printer is an investment, and keeping its software current helps protect that investment while assuring peak performance.
You’ll notice improved print quality and reliability when you maintain current software versions. Think of updates as giving your printer a regular brain boost.
Calibration and Testing (Estimated Time: 15-30 minutes)

Regular calibration and testing are essential for maintaining your DTF printer’s precision and print quality. You’ll want to make this a routine part of your maintenance schedule to guarantee consistently excellent results.
Let’s investigate the key calibration steps you’ll need to master:
- Horizontal Alignment – Check that your white and color layers align perfectly by printing test patterns and adjusting until the lines match up on both left and right sides
- Vertical Adjustment – Use the alignment guide to confirm white ink stays within those black boundary lines for crisp, professional results
- Bidirectional Testing – Print test patterns in both head movement directions and adjust until you achieve consistent alignment
You might wonder about testing your DTF film quality. It’s actually quite straightforward. Simply perform a moderate hot press test to check transfer completeness and adhesion strength.
Moving on to verification, you’ll want to inspect for any discoloration or obvious defects after pressing. Remember to document your test results for future reference.
Keep your printer’s encoder strip clean and shake those white ink cartridges before printing. Think of it as giving your printer its daily workout!
Utilize Manufacturer Support and Resources (Estimated Time: Varies)

Making the most of your manufacturer’s support resources is essential for maximizing your DTF printer’s performance and longevity. Learning how to maintain a DTF printer becomes much easier when you tap into these valuable resources.
Start by visiting your manufacturer’s website to access their knowledge base. You’ll find detailed guides, videos, and troubleshooting articles specifically designed for your printer model.
Take advantage of email and phone support when you encounter complex issues. These direct lines to certified technicians can save you hours of frustration.
Don’t overlook user forums and community discussions. They’re goldmines of practical tips from experienced operators who’ve solved similar problems.
Keep detailed maintenance logs using manufacturer-provided templates. This helps you track cleaning schedules and identify patterns in your printer’s performance.
Remember to register your device for extended warranty coverage. It’ll give you access to certified technicians and genuine replacement parts.
Consider joining manufacturer-sponsored events and training sessions. They’re excellent opportunities to improve your maintenance skills and stay updated on the latest best practices.
Document all your troubleshooting steps and solutions. You’ll build your own valuable reference guide for future maintenance tasks.
Conclusion
Success with DTF printer maintenance depends on establishing consistent routines and preventive measures. Effective troubleshooting becomes natural when following a structured approach.
Maintaining your DTF printer isn’t just about fixing issues – it’s about prevention. Your commitment to regular maintenance will extend your printer’s life and ensure quality prints.
- Daily tasks like shaking white ink cartridges become routine
- Weekly component inspections protect your investment
- Monthly preventive maintenance safeguards against repairs
Master maintenance through consistent practices to guarantee business success. Your DTF printer is a precise instrument that rewards attention with reliable, high-quality output. Learn more about Precisioncore technology printers.
Frequently Asked Questions
How Long Can DTF Ink Be Stored Before It Expires?
You’ll get 12-24 months from unopened DTF ink, but once opened, expect 6-12 months for CMYK and 3-6 months for white ink when stored at 15-25°C.
Can I Mix Different Brands of DTF Powder for Better Results?
Why risk compromising your print quality? You shouldn’t mix different DTF powder brands. It’ll cause inconsistent results, chemical incompatibilities, and potential printer damage. Stick to one manufacturer’s powder for reliable performance.
What Causes White Ink to Separate, and How Often Should I Shake It?
Your white ink separates due to pigment settling and stratification. You’ll need to shake it daily, about 20 times before first use, and maintain regular circulation in your printer system.
How Do Temperature Fluctuations Affect DTF Transfer Quality During Seasonal Changes?
Temperature fluctuations during seasonal changes can disrupt your DTF printing – cold temperatures thicken ink and delay powder activation, while heat causes bleeding and premature curing. You’ll need climate control.
Why Do Prints Look Different on Various Fabric Colors Despite Using Identical Settings?
Your prints look different because fabric colors interact with DTF inks distinctly. Dark fabrics absorb more light, while light fabrics reflect it, affecting how the final colors appear to your eyes.